|
 |
 |
| |
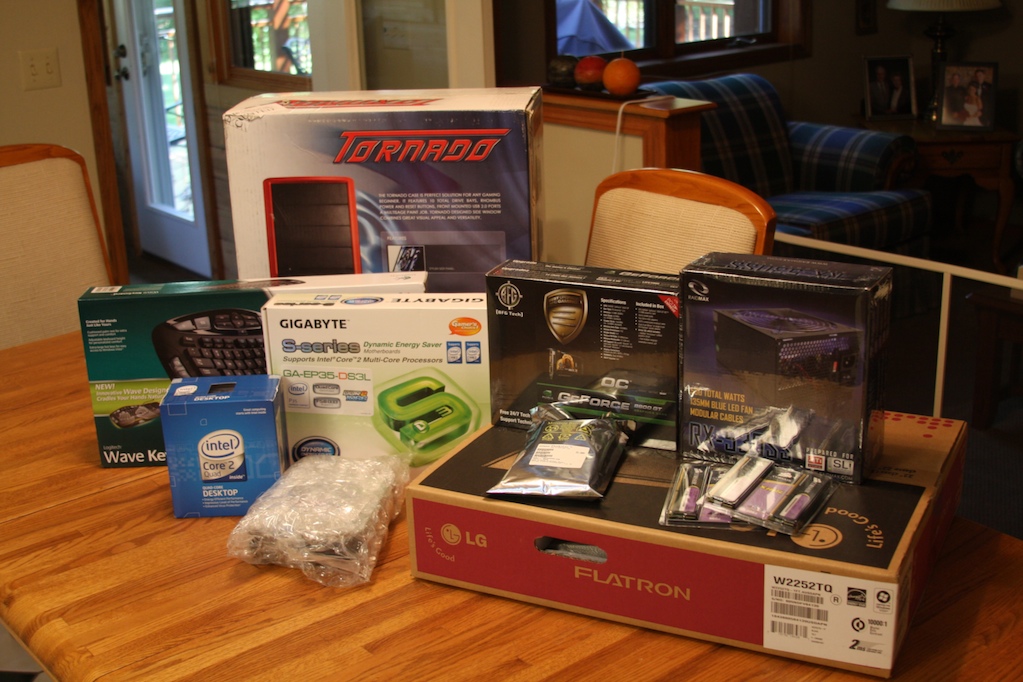
So you wanna build your own computer or are thinking about it? I’m assuming you searched for something related to building a computer or followed links on my site, either way I’m going to assume the computer you want to build is to be used for CG creation; if it isn’t then you will just have one over powered web surfing computer that’s still cheaper than any store bought computer!
Building a computer that is able to handle the demands of cgi/3d creation is something I get inquiries about quite often, and for good reason, as it can seem and be complicated.
There is never a single computer build that will suffice for everybody.
|
|
|
 |
 |
 |
|
|
|
|
| |
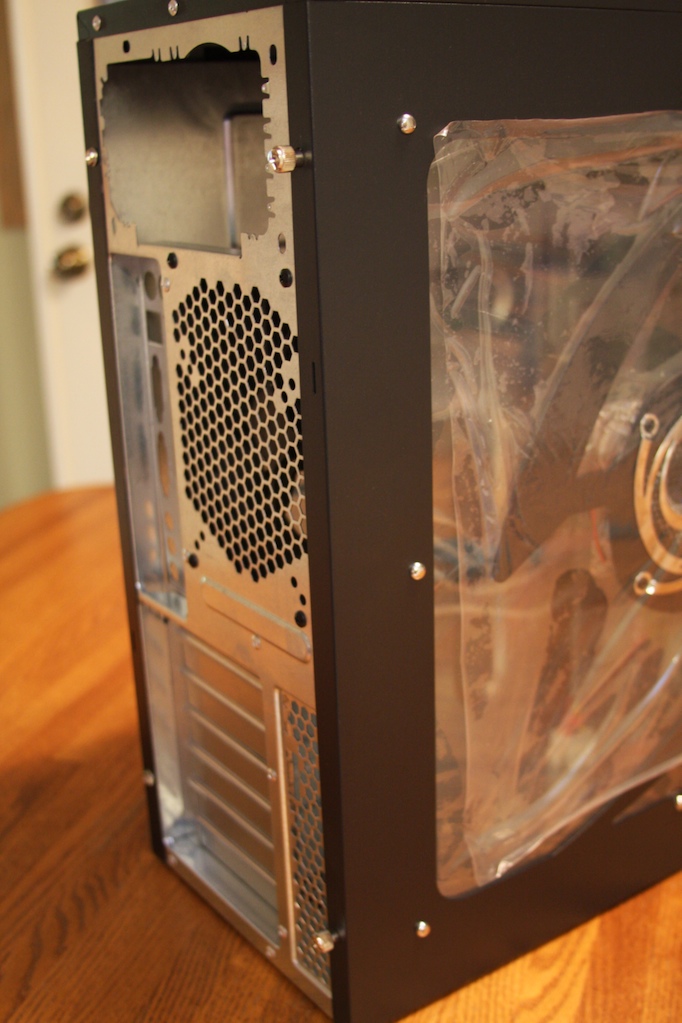
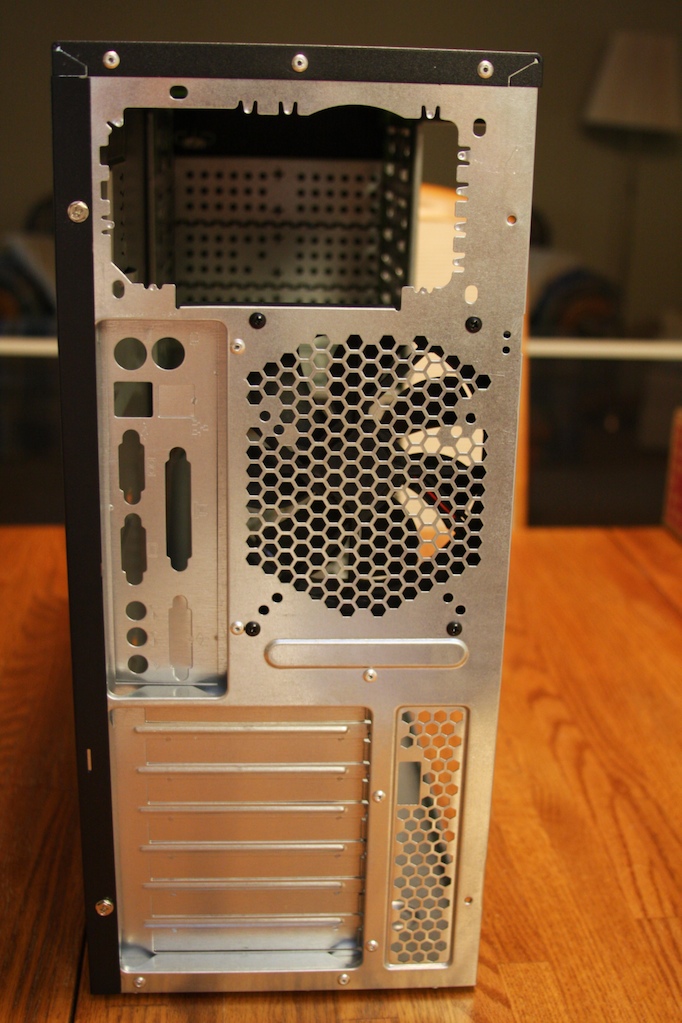
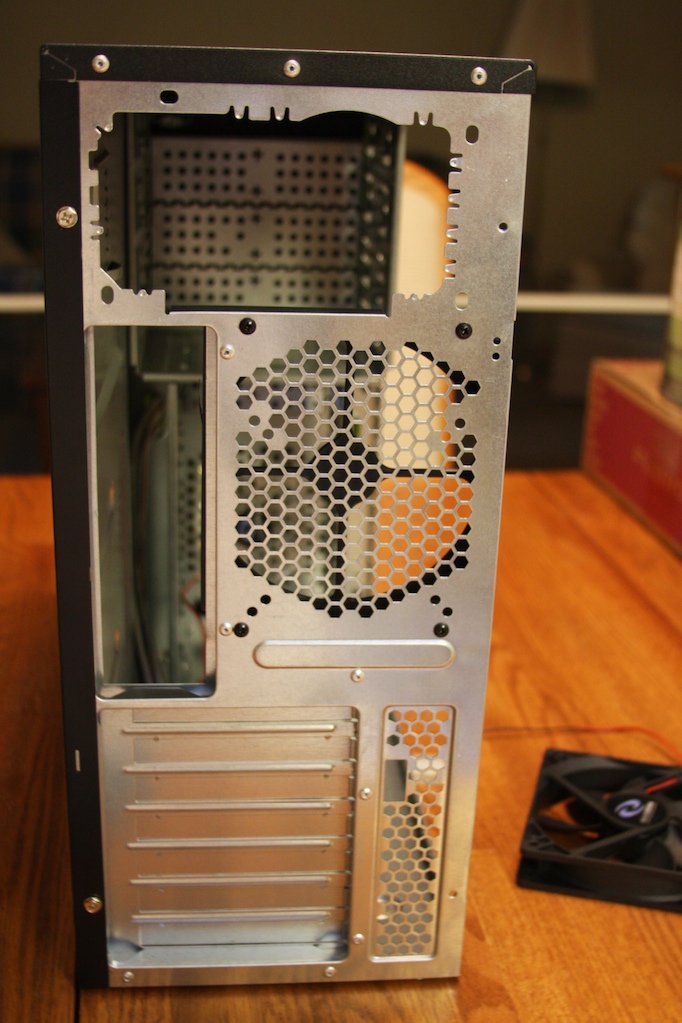
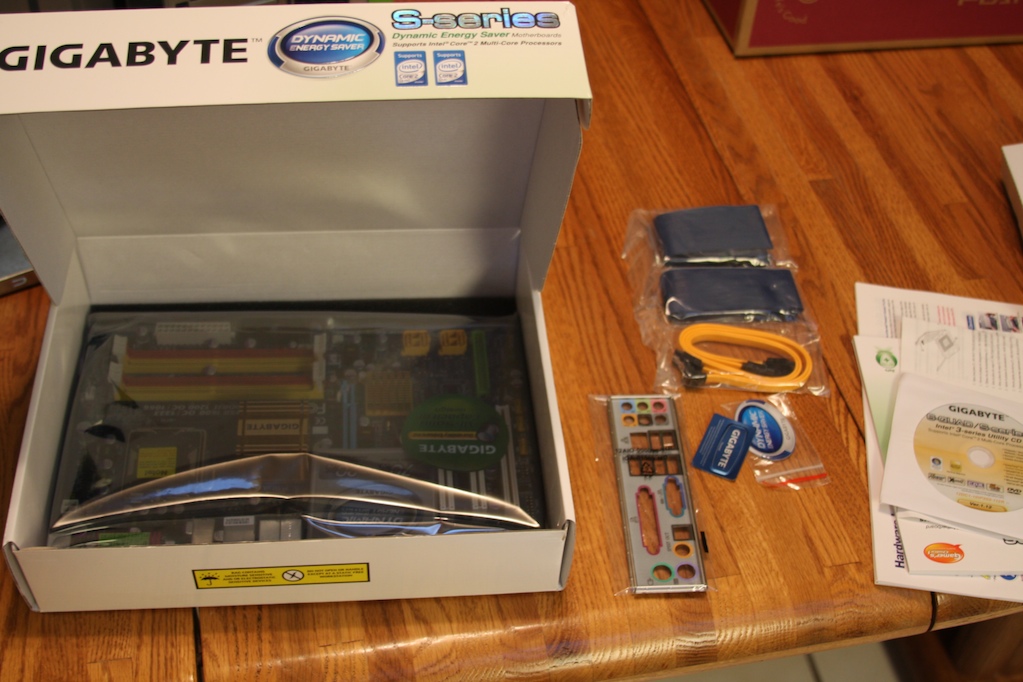
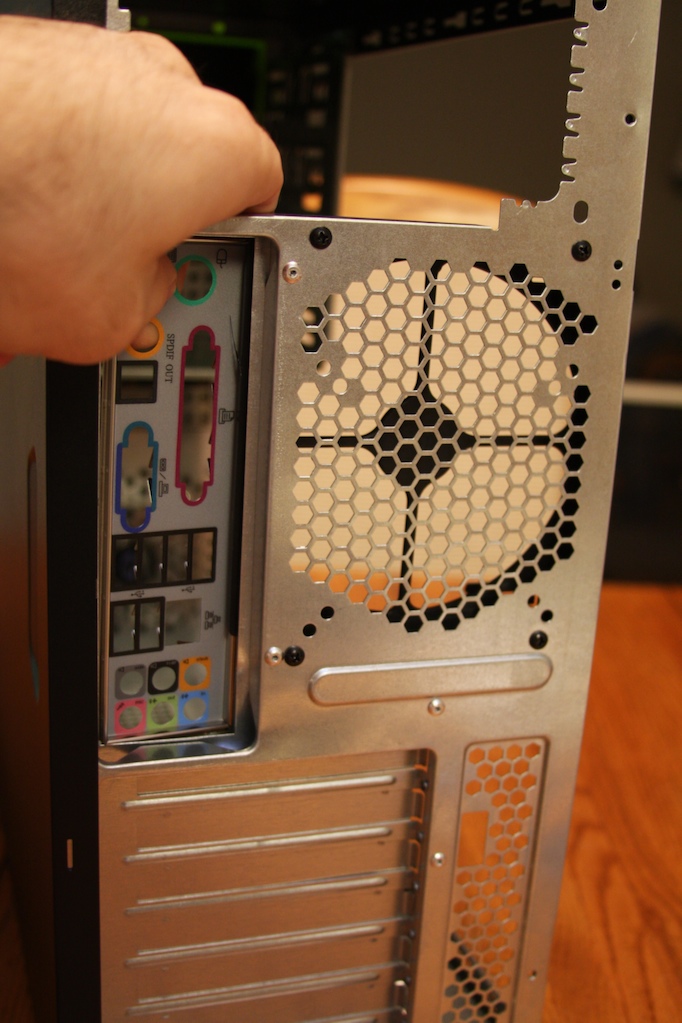
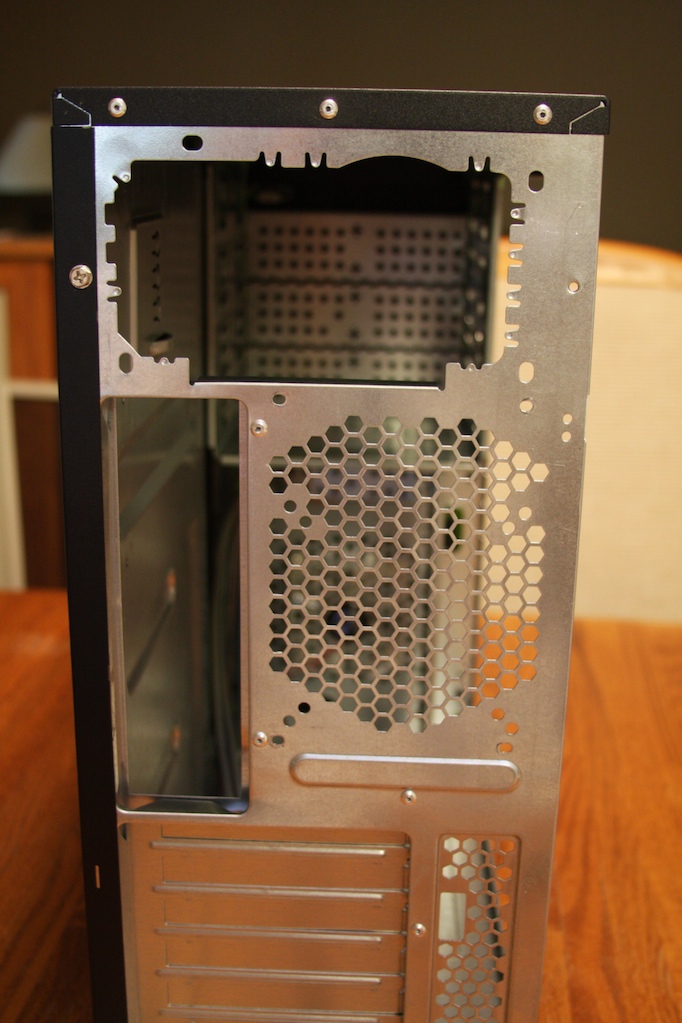
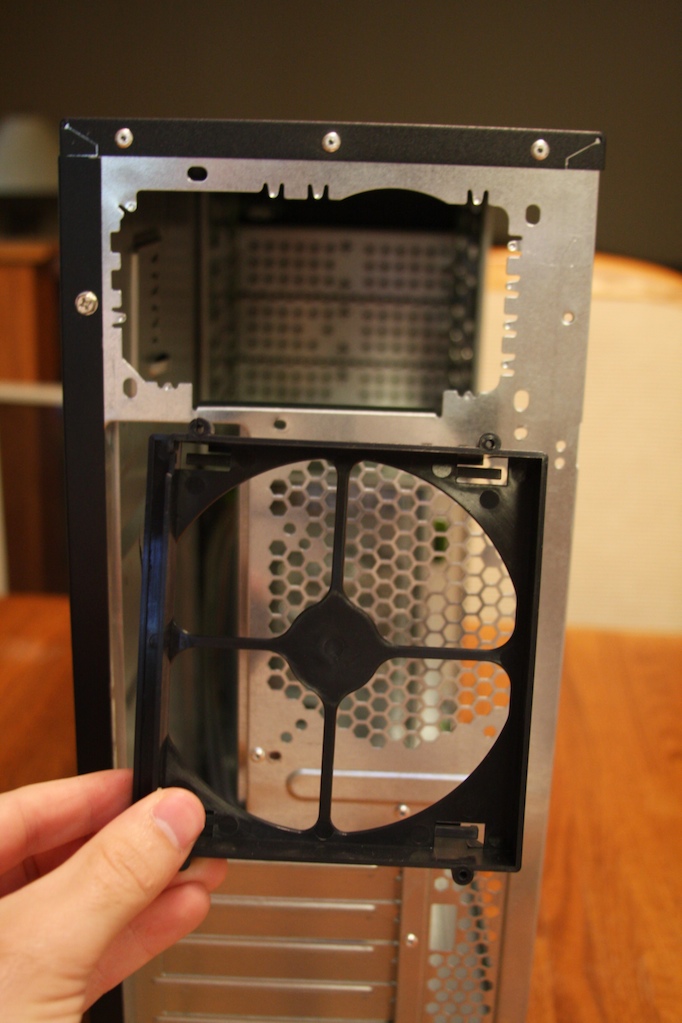
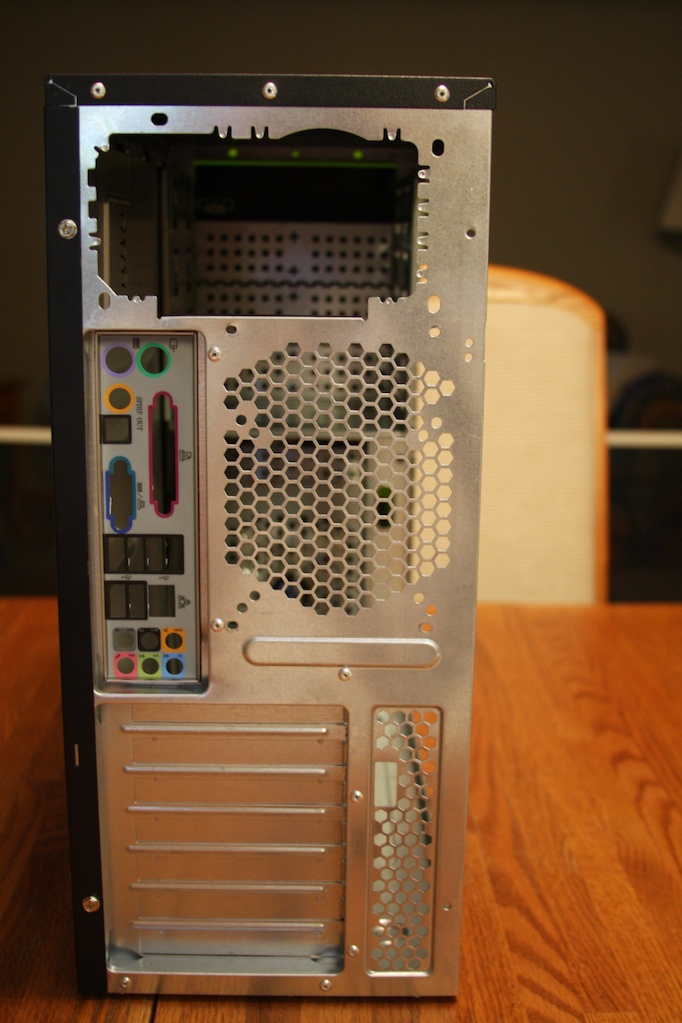
Ok, so you figured out what parts you wanna use and now want to know how each part connects together, I go in a logical sort of step by step construction (at least to me) but you can do a lot of this assembly in any order. With all the builds I’ve done this is the easiest route for me.
I should note: It is strongly suggested among the computer building community to wear an anti static wrist strap while building the computer. Call me a rebel but you won’t see one on me in any of the photos, HOWEVER, I do assemble all my computers on a tile floor and a wood table and the chair I sit on has no fabric touching me, I also do not get up and walk around while building. Any sort of static shock can be devastating to a computer’s circuitry. Although it may seem like an insignificant spark, a small shock of static electricity has been measured up to 3000 volts.
During assembly I always touch a PCI cover on the case I’m working on in order to dissipate any static that may have accumulated, when touching anything else I try and touch only plastic, on the motherboard I usually touch one of the corner screw connections. Although it is not likely to fry a computer its not worth the quarter second it takes to tap/hold something.
Additionally, although it is debated, the use of magnetized screw drivers for assembly is not suggested. A hard drive is a giant magnetized platter that is written to via magnetic fields, using a magnetized screw driver leaves all the screws magnetized forever, or until you go in and demagnetize them. I just don’t find it worth it to risk my equipment with magnetism.
|
|
|
|
|
|
|
|
|
|
|
|
|
|
| |
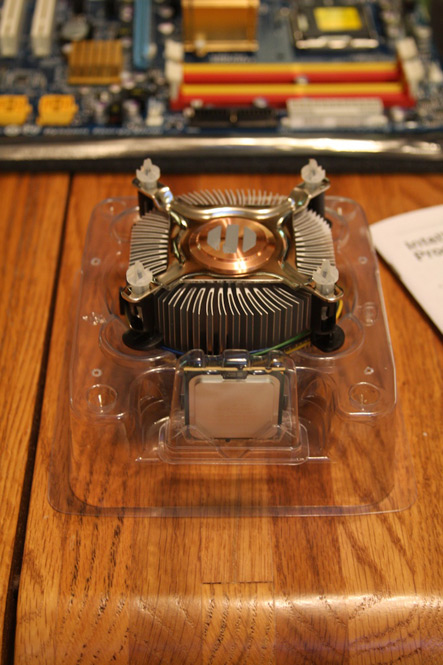
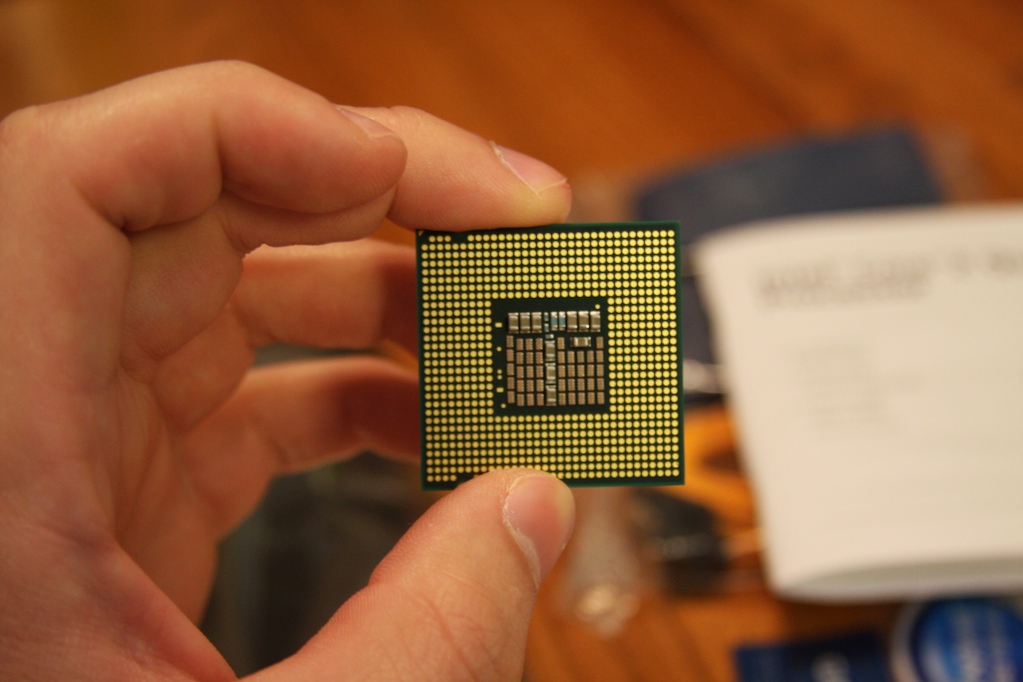
Inside the box you will find the heatsink in the center and the actual CPU off to one side as seen here. The other half of the plastic has been removed but it was identical to the bottom piece shown here, they just snapped together.
Notice the 3 grey lines on the copper piece of the bottom of the heat sink. These 3 grey lines are the thermal paste that HAS to be there (between the heatsink and the CPU.) As far as I know Intel CPU/heatink/fan combos ship with the thermal paste, AMDs do not. Please don’t stick your finger in this paste, the oils on your skin can mess with the paste when the temperatures get upwards of 100 degrees and that is never good. There is aftermarket paste available, I don’t use it anymore. I built two identical builds, one with arctic silver thermal paste, one with the stock thermal paste; I averaged about a 1 degree (fahrenheit) difference. Some people swear by it, I don’t see much of a need, but that’s up to you.
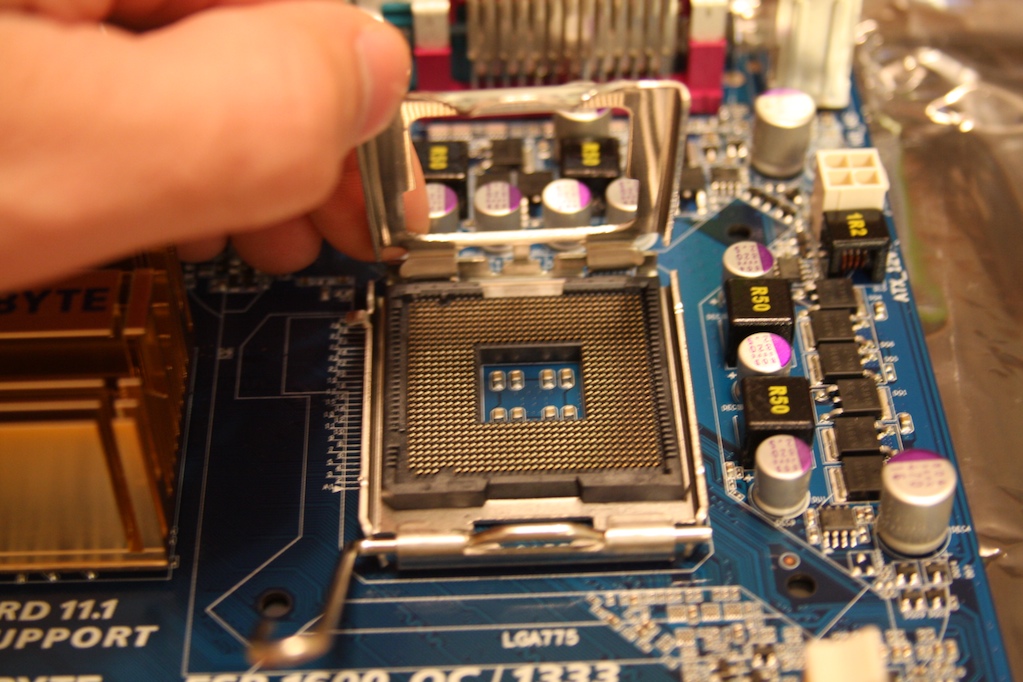
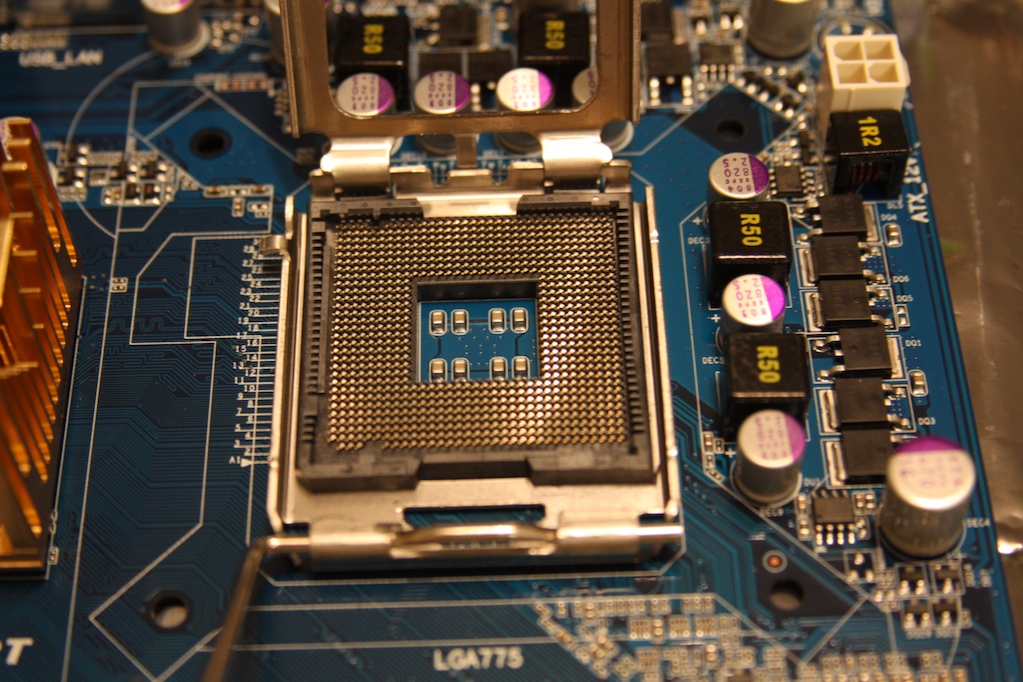
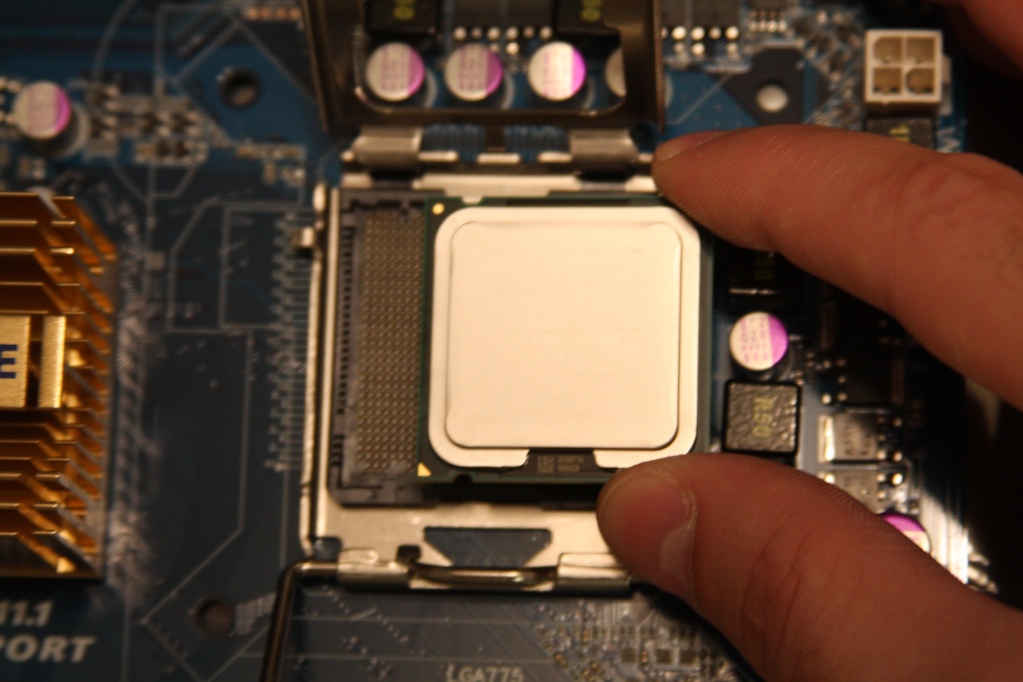
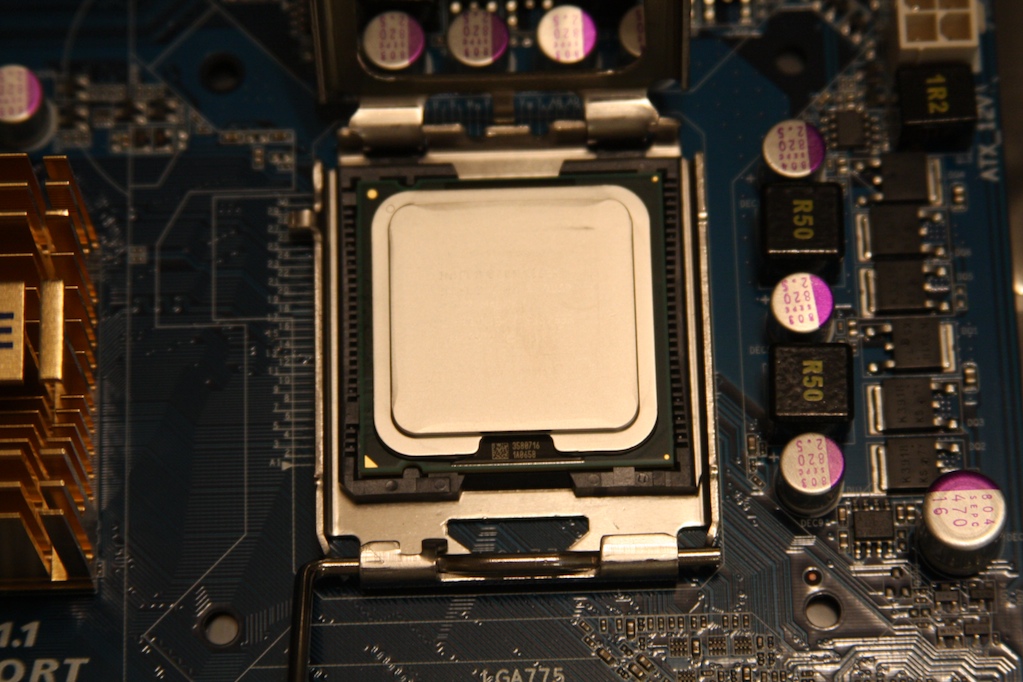
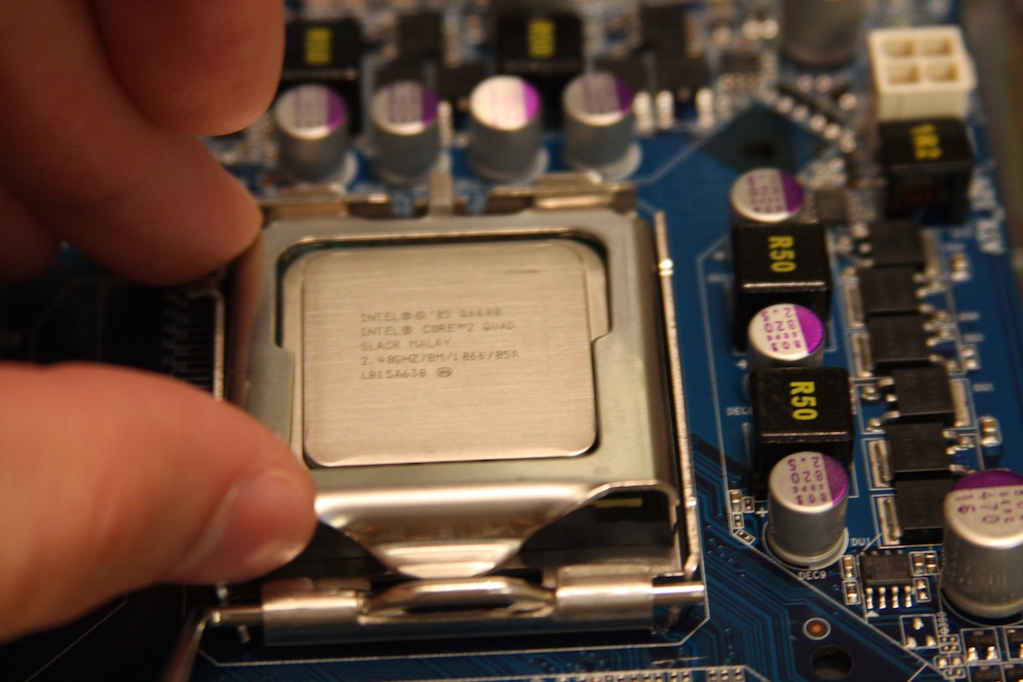
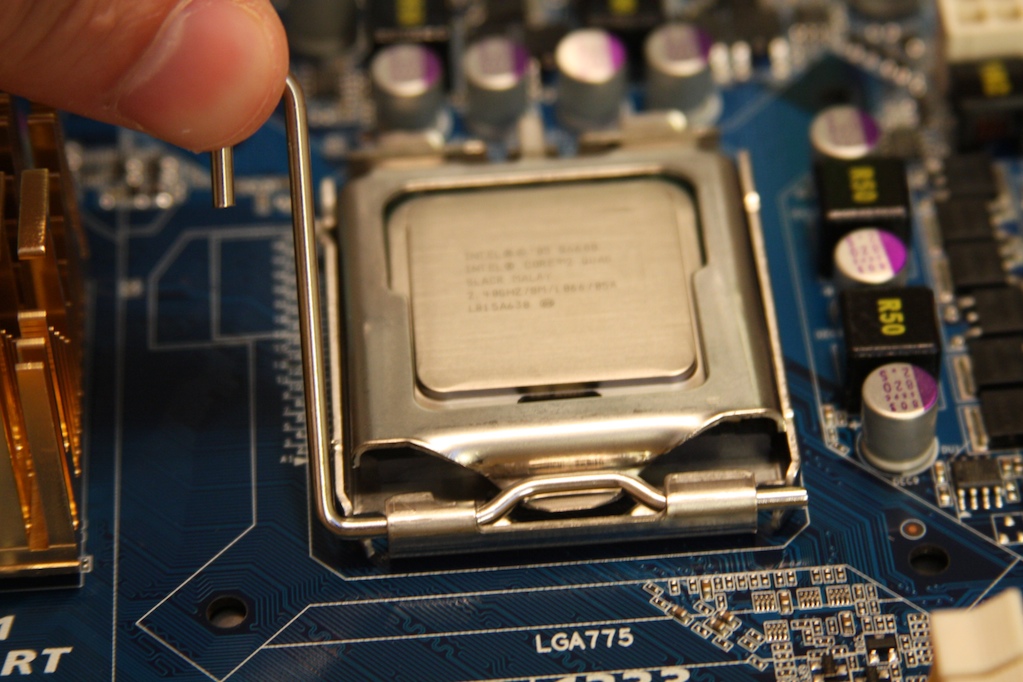
Also Ill say this now since you will be tempted to mess around with the CPU chip, they ship with a plastic piece covering the pin contacts DON’T TOUCH EM. As a rule of thumb, try and touch the cpu as little as possible and always handle it on the sides.
|
|
|
|
|
|
v
|
|
|
| |
Since there are so many steps to this tutorial i have broken it down into 3 seperate pages.
Continue on....
Page 1 Page 2 Page 3
|
|
|
|
|
|
|
|